Monday, August 28, 2017

Behind the Scenes of the Amulet Parties


We had a lot of fun celebrating summer readers at Meadowridge and Goodman South this past week, and there were some amazing creations. But instead of highlighting the students, we thought we’d talk more about the specifics of the Amulet Parties: the preparation, the setup, and little tricks or tips we’ve learned so far. We want to offer insight for those of you who might want to do Amulet Parties for your readers, or for parents who think this would make a great birthday party theme. (P.S. It totally would.)

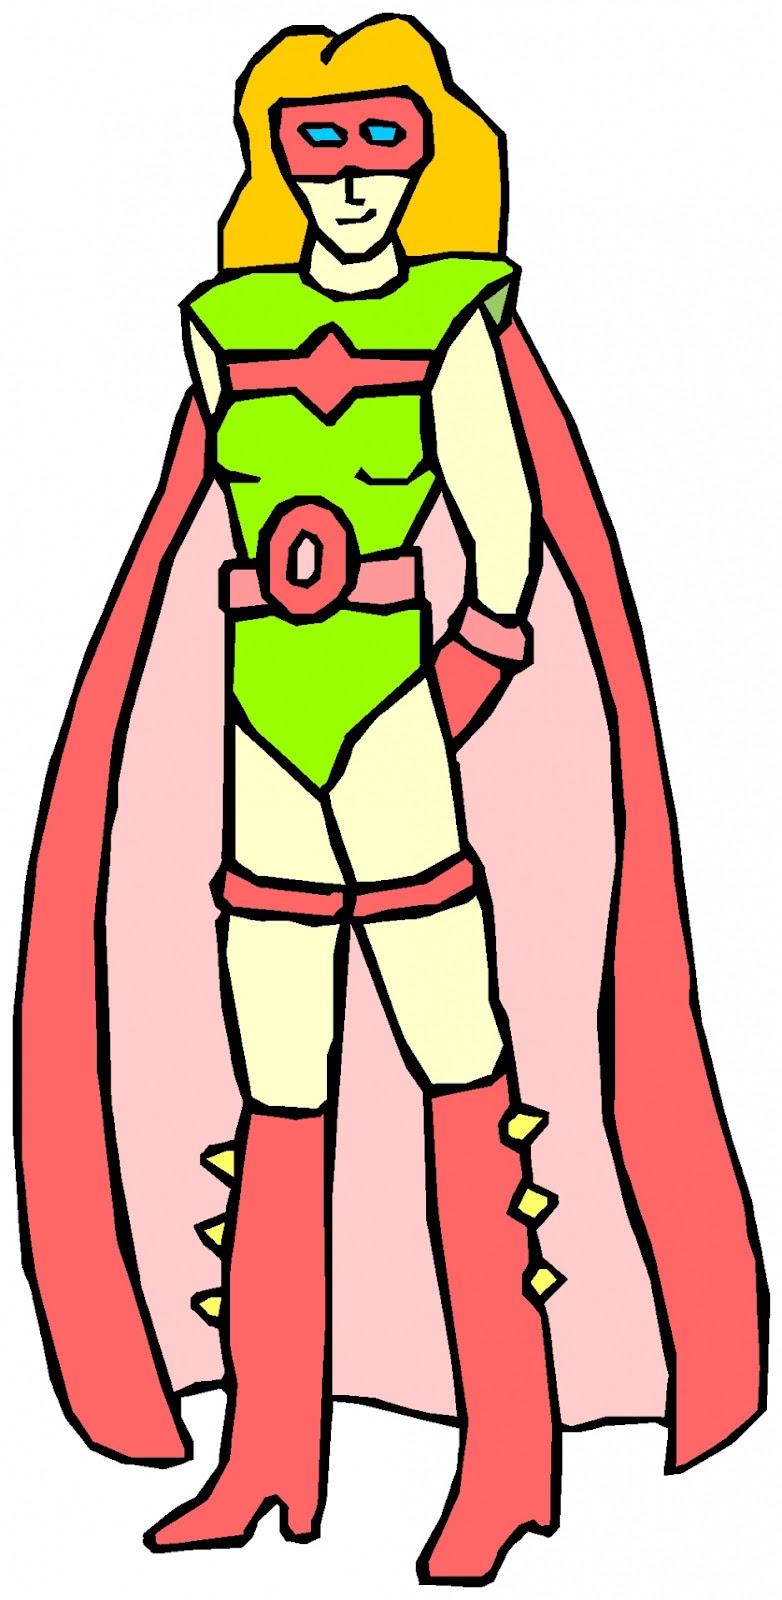
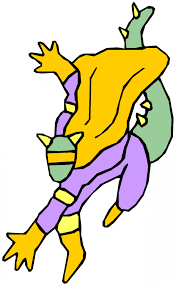
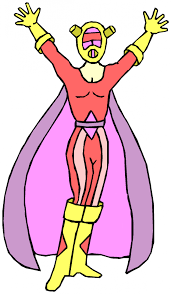
This year, the Maker Corps decided to reward young readers with books and a making experience rather than a pizza coupon. We wanted to provide them the materials to make something special that they could keep forever as a token of their hard work. We decided on amulets because they are common in many books, can appeal to a diverse group of kids, and are easily scaled to accommodate the age of the reader (meaning the object can be as simple or complex as the kid wants to make it).  


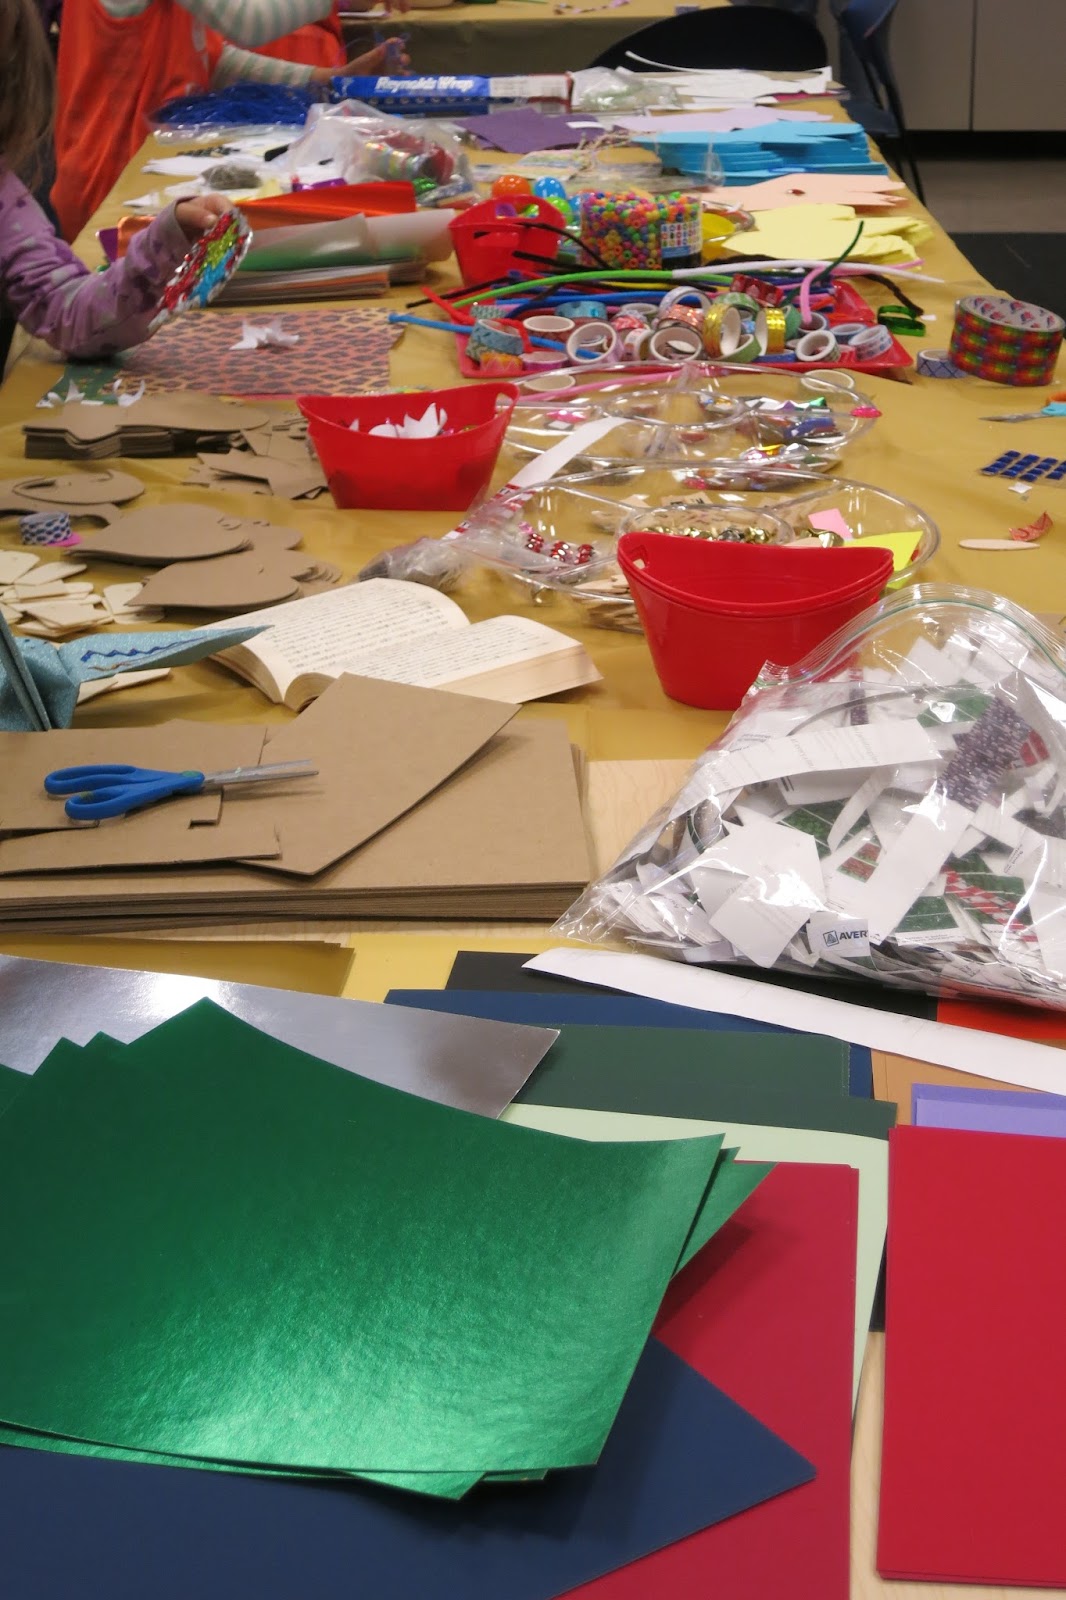
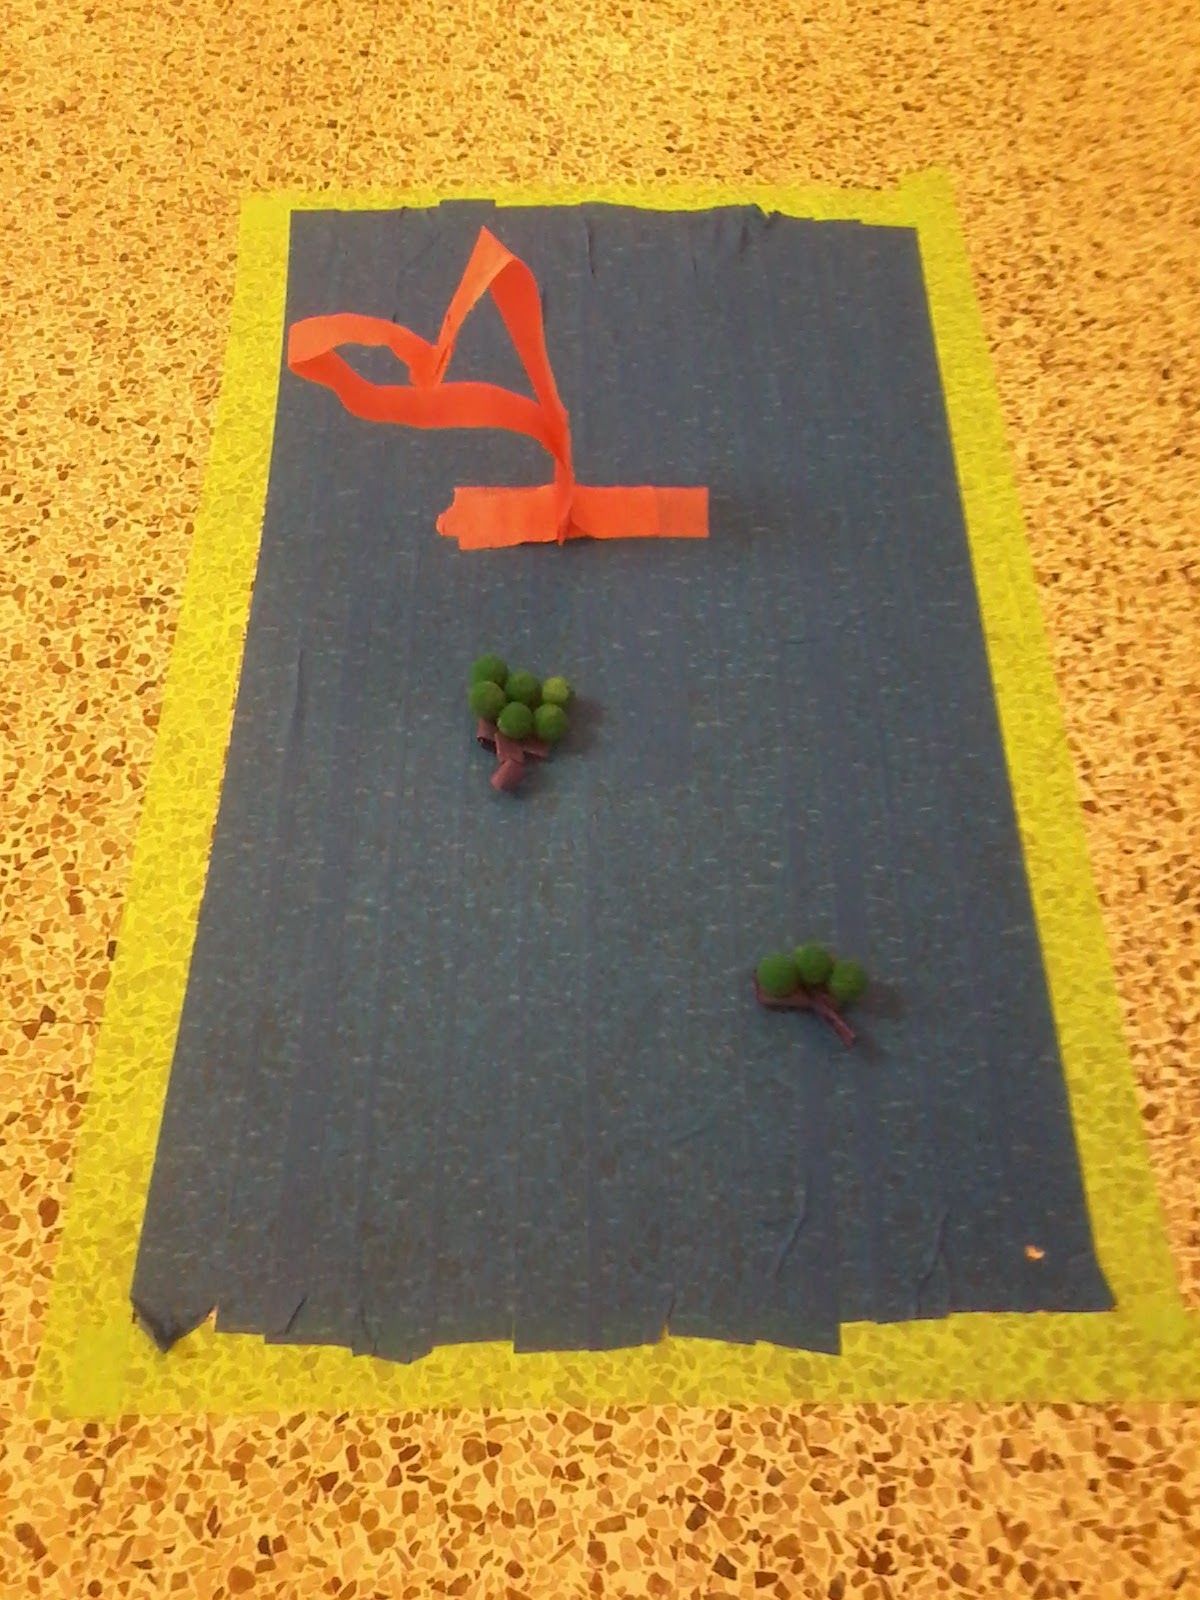
So! What does our Amulet Party kit look like? We have four tote boxes with materials that will provide the base for an amulet, ways to construct the amulet, and tons of things to decorate with. Here are some pictures:


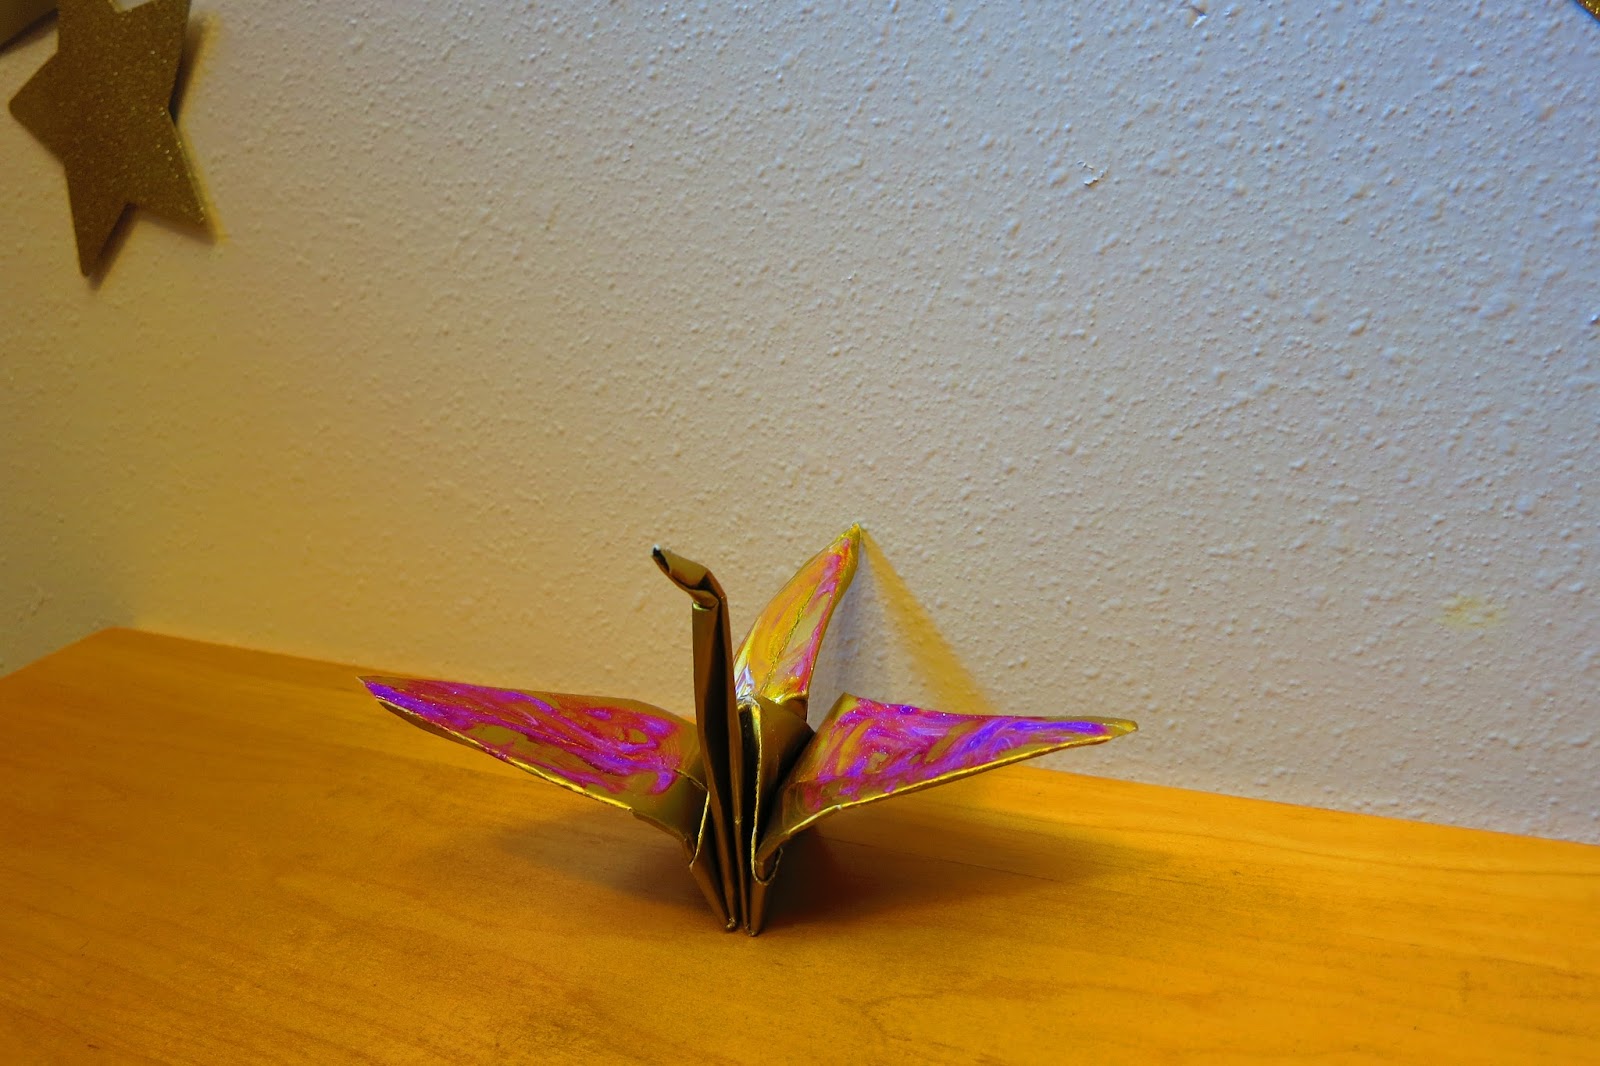
We have found that the pyramid paper, the cardboard cutouts, and the origami are very popular, and offer an easy way for kids to get started. As far as decorations go, we’ve noticed the shinier the better. Kids love the glitter paper, glitter paint, and glitter glue. They also really like the gems and sparkly stars. But perhaps the most exciting part of our kit is the variety of tape we offer. One kid was absolutely tickled by the fact that we had a roll of tape with mustaches and glasses. Fewer kids use the Minecraft stickers we have available, but the ones who do recognize and use them are really into them.


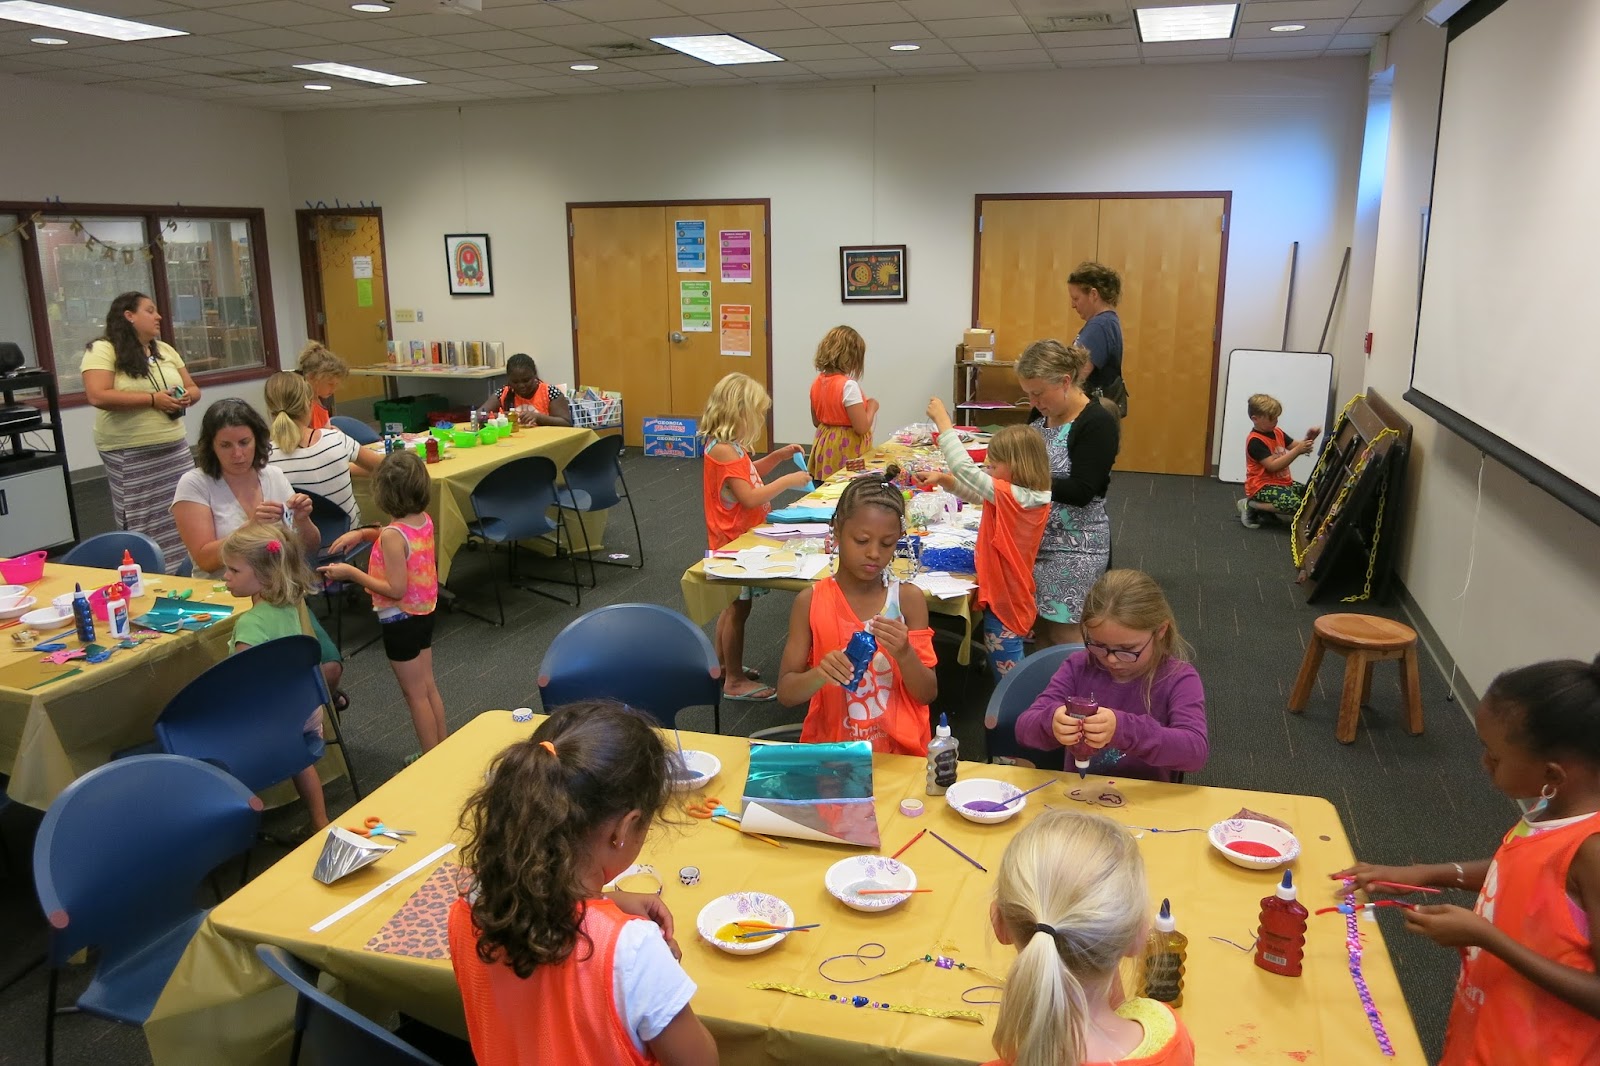
Now, for a peek at our setup.


For our first Amulet Party, we set out a bowl of glitter paint at one of three working tables, along with the glitter glue, scissors, and glue sticks. We had two other tables set up with all the rest of the materials. We tried to encourage kids to take their materials to their work tables instead of loitering in front of things other kids might want. But walking between tables led to a lot more clean up, and having so much glitter paint out led to little supervision of it. Ultimately, we decided to have one table for painting/ glitter glue-- the messy stuff. The materials tables now double as workspace tables. The only thing that hasn’t changed throughout these two weeks is that we have one area for hot glue guns. This setup allows for easy clean up, it is suitable for rooms of different shapes and sizes, and it encourages conversation between readers who may not know each other.


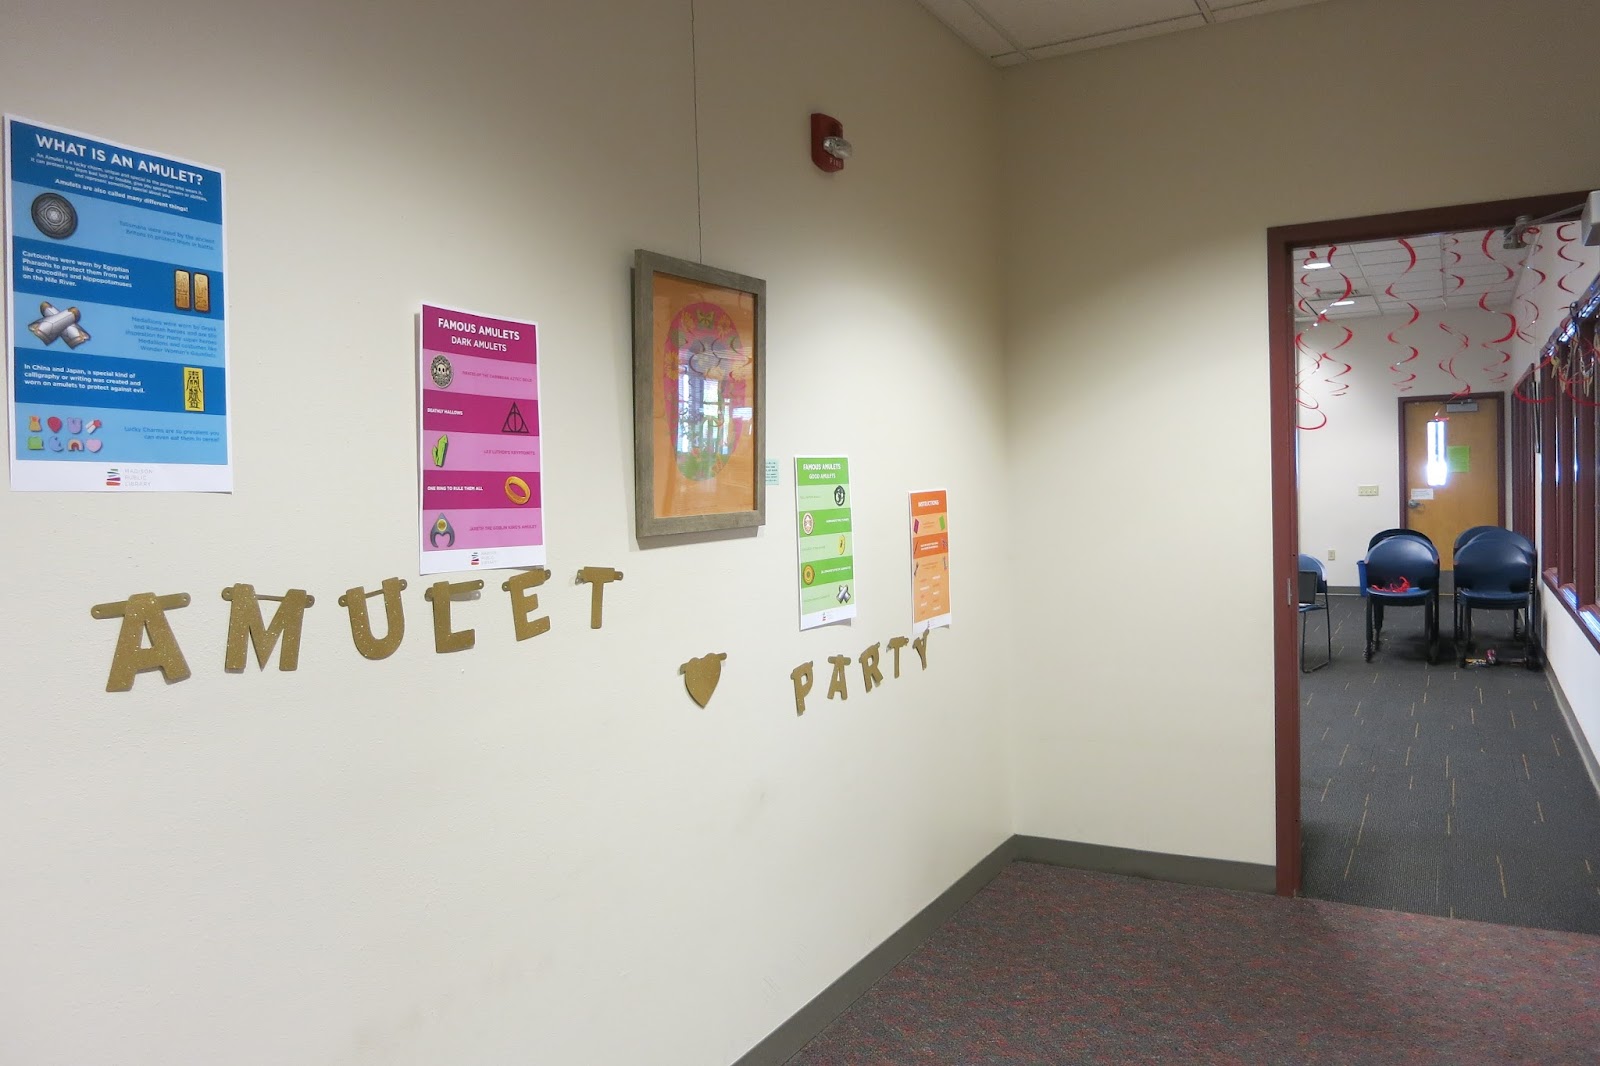
Beyond the physical setup of the room and the way we lay out our materials, we found that the celebratory decorations we provide are also very important. We always intended to have a banner and party decorations to help transform the spaces we inhabit, but we didn’t realize how crucial this would be until we had done it a few times. The sparkly banners that read, “Congrats Readers,” and “Amulet Party” really change the atmosphere of the community rooms we hold the parties in. The photo booth with a sign that says, “Wow” makes the kids feel even more celebrated. The gold tablecloths (which are also practical for clean up) give the room a regal feeling. Not only do the kids and their parents seem to appreciate the transformation, but other librarians have also commented on it. One remarked, “Wow, you’re really going all out.” To which we replied, “Yep! The kids deserve it.”

Figuring out the best setup for this kit has helped everything run much more smoothly. And here are some other helpful tricks we picked up along the way:On our first ever day of Amulet Parties, we spent a long time (over an hour!) just getting the party set up. We realized right away though that this wouldn’t be sustainable, we couldn’t get to every party an hour early just to set up! We had to figure out a way to shave down some of the time.


To help solve this, when we packed up all the materials, we left them in the trays instead of putting all the materials back in their own separate bags. This did mean we needed four tote boxes instead of the original three as the materials did not fit as neatly into their storage units, but for our next Amulet Party it was so satisfying to take out the bulk of the materials and have them ready to go. Now we can set up in about half an hour!


Another important trick we had to learn the hard way was pouring out the glitter paint for the kids instead of letting them have free reign over the bottles. On the topic of paint, we also learned to put out small bowls of paint with a color coordinated paint brush to also help avoid a mess. Having the brushes start in the proper bowls of paint helped keep the kids from mixing the colors.

One last thing we had to work through was whether or not we wanted to play a video during the Amulet Parties. To add to the fun of the event, our Maker Corps coordinator came up with a video compilation of movie scenes showing different characters discovering and using amulets. At first, Caide was hesitant about this idea. Wouldn’t a video be too distracting and overstimulating to kids making amulets? For the first week Caide and Kai didn’t play the video partly because they didn’t have time to set up the technology, and partly because of this concern. However, this week at Goodman South Caide and Kai ran the video multiple times through the party with success. We played the video once with sound, and then afterwards muted the video and played movie soundtracks over the video footage. Kids sometimes stopped what they were doing to watch the video, but for the most part the video just added to the fun and atmosphere of the event and kids still came away with some great amulets.  

Whew! Well, this certainly was a lot of information, but we hope you all found it insightful. No go forth and make your own Amulet Party. Good luck!

Wednesday, August 9, 2017

Glitter Galore: First Week of Amulet Parties

Hello everyone! Caide and Kai are here after finishing their first week of Amulet Parties! What are Amulet Parties you may ask? Well. This year at the library, in celebration of summer reading, kids who have completed their summer reading goals get to spend a day at the library making their own amulet, lucky charm, or special object that represents something about them. The kids can keep their amulets, or give them to the library to make a community chain of amulets to put on display.

IMG_0605.jpg
On Monday Caide and Kai arrived at the Central Library ready to explore and get familiar with the the many materials of the Amulet Party kit. They unpacked three bins filled to the brim with colorful paper, glitter paper, cardboard shapes, glitter tape, pipe cleaners, glitter glue, foam stickers, glitter foam stickers, metal gears, glitter paint, easter eggs, gemstones, glow in the dark stars, and, did we mention glitter? Basically, all the crafting materials you could dream of to make the perfect amulet. After several hours of making their own lucky charms and shinny amulets, Caide and Kai were ready to bring the kit to the kids.


IMG_0623.JPG


On Tuesday, Caide and Kai went to Hawthorne Library where all the Amulet Parties would be that week. Caide and Kai were still setting up when the first families arrived. As they brought out the last materials, some of the kids expressed feeling overwhelmed with the amount of crafts they could use! Caide and Kai recommended they simply start with the materials that called to them most, and many kids went for the gemstones and glitter tape.

A few hours into the making session, a summer camp arrived to make their own amulets. The room was filled with kids at work folding, gluing, coloring, and painting. Most kids wanted to keep their amulets, but some let the library display them for the community.

IMG_0601.JPG


On Wednesday, Caide went back to Hawthorne by herself to make things with a summer camp and different families that came to the party. After discussing Amulets and brainstorming what the kids were going to make, everyone got right to work, absorbed in making their special objects.

Many of the kids wanted to fill the easter eggs with glitter paint and beads, creating a magical concoction held inside the egg. Although this was exceptionally fun for the kids, Caide had to let the kids know that the glitter paint would not dry inside the egg, and it was only a matter of time before the egg burst into a glittery, gooey mess.


Despite the mess and still being encrusted with glitter days later, the amulets were all worth it. Caide was especially happy when she got to take pictures at the photo booth station of all the kids smiling and proud, holding up their amulets.


Caide was also glad to see one of the makers from Tuesday return on Wednesday to finish her amulet. After feeling upset because she ran out of time to finish, the girl and her family came back to make an epic, wind chime amulet.

On Thursday Caide and Kai went back to Hawthorne for the last time to work with another school group. Caide spent most of the hour making paper cranes with two different kids who had seen her example crane and wanted to learn how to make them.

IMG_0665.JPG
Caide was especially happy to share this since she first learned how to make paper cranes in 3rd grade at Randall Elementary school when some of her classmates were reading the book Sadako and the Thousand Paper Cranes. The book tells the story of a 12 year old girl named Sadako who, after being diagnosed with Leukemia due to radiation exposure from the atomic bombing of Hiroshima, makes it her goal to make 1000 paper cranes to be granted one wish.

IMG_0670.JPG

In the story, the cranes are almost like Sadako’s amulet, and it felt special for Caide to share this skill with other kids who were as old as she was when she first learned how to make them. Although some of the steps are very tricky, each kid was able to complete their cranes and add some fantastic decorations.

After another fantastic week of making, Caide and Kai are excited to take what they have learned from the first round of Amulet Parties into the coming weeks. Next week Caide and Kai will be having more Amulet parties at Meadowridge, Goodman South, and the Central Library. We and hope to see you there!

Wednesday, August 2, 2017

Superheroes Hit Hawthorne!


It was a typical Wednesday afternoon at the Hawthorne Library. There were a few families milling about the bookshelves and teens reading near the windows. The room was filled with the click-clacking of people at the computers.
Kai arrived at the library at two and met with Tracy, the youth services librarian. Most of the materials for the Comics and Heroes kit were already set up in the community room. There were crayons, markers, colored pencils, and stamps for decorating. Kids could color in superhero illustrations, draw comics, and design costumes for themselves. We even provided an enormous roll of Mylar that could be used to make capes, utility belts, or anything else the kids might think up. Although Kai had used this kit often throughout the month, today felt different-- special in a way. She wondered what this day would bring.

When the kids came in, Tracy had them sit in a group on the floor. Each of them ate a push-pop while she read “Hoot Owl Master of Disguise.” Afterward, we talked about other people who use disguises: people like superheroes!

Kai explained the different possible activities available, and the kids set to work. They were so excited! Some went immediately to make a cape. Others wanted to color a superhero. But most of them rushed to decorate and cut out a mask. We were fortunate enough to have an hour and a half with this one group of kids, so they were really able to expand their costume designs beyond what kids usually do.


hero2.jpgA lot of kids began with the basics: cape, mask, arm bands. But with extra time, they started to improve the sophistication of their designs.


hero4.jpgOne kid really wanted to emulate The Flash, so he asked Kai to help him draw a lightning bolt that he then cut out and pasted to the top of his mask.

A friend later helped him tape a lightning bolt on to the front panel of his costume, along with a giant ‘F’ in red tape. Another kid knew from the beginning that he wanted to be Tiger Man, so instead of making a cape, he made claws out of the Mylar and tape them to his finger tips.
hero6.png


hero5.pngThese two makers inspired a lot of kids to do the same. At first they were upset that people were copying them, but they soon realized what an honor it was for someone to like their idea so much that they wanted to do it.
hero8.jpg

In just over an hour, the transformation was complete. We no longer had a room of third graders, but twelve superheroes all with their own names and powers. They sparred with each other, shooting lasers from their eyes, making tornadoes from nothing, and calling on their sidekicks (often animals) to aide in their endeavors. As time went on, the heroes started forming alliances. One group was identifiable by a yellow sticker they each had.


20170719_151618.jpg


When the time had come to clean up, the superheroes flew through the air picking up tape, crayons, markers, and glue.


One used his super strength to lift all the rolls of tape at once. Another used his speed to quickly, and very carefully, collect all the scissors. But the hero who made the biggest difference was the least like a superhero.


She made some masks, but did not wear any of them, and she did not make any other costume pieces. She identified as a regular person, but her ability to help was extraordinary. She organized the remaining sheets of paper into neat piles, and divided the markers from the colored pencils even though she could have just left them all in one container. She brought everything to one table to be packed away.
hero1.jpg


Although Kai was amazed by the transformation from kids to superheroes, she was especially grateful and impressed by this young lady. Just goes to show that not all heroes have super powers!

Monday, July 24, 2017

Maps and Mazes at Chavez


Hello once again from the Maker Corps blog! This week Caide and Kai went to a whole new series of places to have fun with the kits. They ventured to Play Haven Day Care, Northport Apartments, Chavez Elementary School, Lapham Elementary, and some library visits too, at Lakeview and Goodman.

20170713_145822.jpg


As the summer has progressed, we have enjoyed making things with each of the Bubbler kits, but the Maps and Mazes kit has emerged as a favorite for both of us. For this post we wanted to dig into that kit and how the kids at Chavez Elementary school engaged with it.


20170711_140812.jpg


~Caide~


For me, Caide, the specific prompt of making a map or maze combined with the wide variety of possible materials makes the kit really exciting. However, the cherry on top is the way the kids get to modify a familiar space. How often, as a kid or adult, do you get to go to a public place and transform something about it?


As a kid, I loved doing crafting activities that changed the space I was in, and with the Maps and Mazes kit, it’s still exciting to create things with tape right on the floor, or turn a section of the room into a laser obstacle course.


At Chavez Elementary school, the kids had the same reactions as me: “We get to put tape on the floor!?” Yes. Yes you can.


20170711_141527.jpg


Chavez Edit.jpg

20170711_145350.jpg


Each group of kids usually comes up with something new to do with the materials.


I spent some one-on-one time with a girl who was pretty shy. She wasn’t sure what she wanted to do, and I could tell that the high energy of the room wasn’t matching her mood. So we sat down further away from the group and started putting tape on the floor.


After asking her several prompting questions she began adding her own thoughts. We decided our road needed many different colors, a pool alongside it, and a food store. We made a pizza sign and a giant ice cream cone for the store so that people knew what it was! By the end of our time together, she had opened up a little more and was happy when others commented on her work.

I was really glad she found a way to engage with the materials and impressed by her creativity as many kids don’t add roadside attractions to their mazes.


~Kai~


This kit has become my favorite, because the activities for it are both structured and open-ended. We offer a few ideas to start: make a map or maze using blocks, tape, or crayons and paper; test your creation using the ping pong balls or cars. From these few, simple guidelines we have seen kids make so many different things. Of course, we see typical maps with houses, zoos, pools, and parks, or trees, rivers, and boulders.


20170713_135125.jpg


20170713_140916.jpg20170713_141944.jpg


But sometimes a kid will make a map of the zombie apocalypse, complete with zombie fish, zombie snakes, and a safe house hidden behind the trees. This maker also cut pieces out of the map edges to make it look worn.


We often see race tracks or roads made out of tape.

20170711_142057.jpg

These boys were making a road map by taping multiple sheets of paper together. They decided this was a map of Madison, and the tower made of Keva planks represented Camp Randall Stadium.

20170713_141842.jpg


Then there are always the kids who want to use the materials available for something totally different. Someone made a lake with a heart in the middle. Others wrote their name of the floor of the cafeteria using tape. Others still tried to make extremely tall towers using the blocks.

20170713_142827.jpg


And the best part of all is that we, as maker corps members, can allow all of that to happen. As long as kids aren’t hurting themselves or each other, we get to say, “Yes, go for it!”

20170713_144804.jpg


Maps and Mazes also lends itself to a lot of options for individual or group work. Specifically, the laser maze prompt has proven to be an excellent opportunity for collaboration as it requires at least two people to construct. Often, we see 3-5 kids working together to tape crepe paper between tables, bookshelves, or walls. Usually, this group project goes off without a hitch, but occasionally, we find ourselves mediating conflicts.


In one particular instance, an older girl was taking the lead on a laser maze. She had a hand in designing and constructing it. For a while, she had the perfect number of kids helping her, and following her instructions. The problem was that she made it so inviting, other kids wanted to try it. Because she made it extremely difficult to crawl through, the maze was easily broken with the sudden influx of maze runners. She became pretty upset.

Somewhat of a perfectionist myself, I empathized with her. I tried to explain to the kids that before they charged someone else’s creation, they should have asked permission. At the same time, I tried to tell the frustrated maker that tearing the crepe paper is expected, especially when one makes it so challenging. She was not satisfied with this, but was able to find some consolation after complaining about the situation to a friend.


We maker corps members are often helping kids navigate difficult situations like this, whether the conflict is between two makers, or stemming from the internal frustration of one maker. Whenever I find myself mediating, I'm reminded that learning is a social act. It's not always easy or fun, but what matters more is how we cope with these challenges and persist.

20170713_144926.jpg

All in all, it has been great to explore, make things, and reflect with the Maps and Mazes kit. We look forward to seeing what you makers invent next and how you transform a space with your creations!

Monday, July 17, 2017

The Construction and Demolition of Rainbow Kingdom

Welcome back to the Maker Corps blog!
Our fourth week of making was a lot shorter with the holiday preceding it. We went to Nuestro Mundo, Goodman South, Lakeview, and Thoreau Elementary. We tinkered with some familiar kits like Comics & Superheroes, Keva Planks, Things that Fly, and Maps & Mazes. But rather than give a brief summary of what we made and discovered, we would like to try something new. We want to share a story of a single making session which exploded into an enormous multi-layered project!
20170626_152739.jpg 20170626_154256.jpg 20170626_160007.jpg

It all began on June 30th. Kai and Caide were setting up for their usual two hour pop-up session from 2-4 at Central Library. There were not a lot of kids in the library, and they wondered if anyone would show up. That day they had the Building Kit, which includes a bunch of materials: Keva planks, plastic cups, popsicle sticks, binder clips, clothes pins, and rubber bands.
Usually, kids spend time making tall towers out of plastic cups, or designing and crafting rubber band shooters. We had no idea that the kids would make something so imaginative that day! Kai and Caide pulled out all the materials. After a few minutes, our friend A arrived. We met him the previous week when making buttons. He was really excited to see what we had in store that day, which made us happy. He and Kai started working on building a structure with the Keva planks. A bit later, Caide returned with a new friend, V. She went straight for the cups. They each played individually for a while, but then everyone decided to work together. What happened after that was nothing short of amazing!
IMG_0494.JPG IMG_0501.JPG
We started with one wall of cups, and soon followed several towers. Because our creation was starting to look like a castle, A’s mom suggested we make a moat- a water barrier to protect our fortress! We decided to use the blue popsicle sticks to represent the water, and the green were alligators. Then, A thought we should have an active volcano! We used red, orange, and yellow popsicle sticks as lava and fire.
IMG_0499.JPG
From there, our kingdom expanded. We made a little village next to the castle, complete with clothes pin-villagers, and a ranch for cattle, sheep, and pigs, which were each symbolized by different binder clips. The blue clips were cats and dogs, and the green ones were dragons. A made a home for the dragons which included water and lava, because they like to live near both.
IMG_0520.JPG
V thought we should have a road into the castle for good people since it was so impenetrable. She also thought to add a hot tub to one of the towers, which she made by flipping the top cup upside down! She placed the Princess in there. On the tallest tower, we set the wizard. Of course, we made a portal for him to teleport through so he could get down from the top of the tower quickly.

IMG_0504.JPGIMG_0493.JPG


When the creation was complete, we had an enormous castle and city that A and V decided to call “Rainbow Kingdom.”IMG_0519.JPG
It was magnificent! Even the kids’ parents were impressed by what we could make in a short amount of time with just a few people. When it was finally time to go, we pretended to be bad guys attacking the kingdom. We shot rubber bands at the walls, and then used a rubber band ball (made by A’s mom) like a cannonball to knock a wall down. Next, A and V marched through the rest of the kingdom like giants until everything had fallen down into a heap. It was a big, fun mess to make, and we all worked together to clean it up after. What an amazing day of making and imagination!

Thank you, A and V, for all your hard work and ideas.

IMG_0525.JPG


And thank you to all our other friends we've made at the various libraries so far! Maker Corps is mostly visiting elementary schools in the month of July, but we have a few more pop-up sessions left at Goodman South, Lakeview, Hawthorne, and Monroe Street. Check out our full schedule of locations and times at http://madisonbubbler.org/make-something-at-your-library/